|
7/10/2023 0 Comments July 10th, 2023
0 Comments
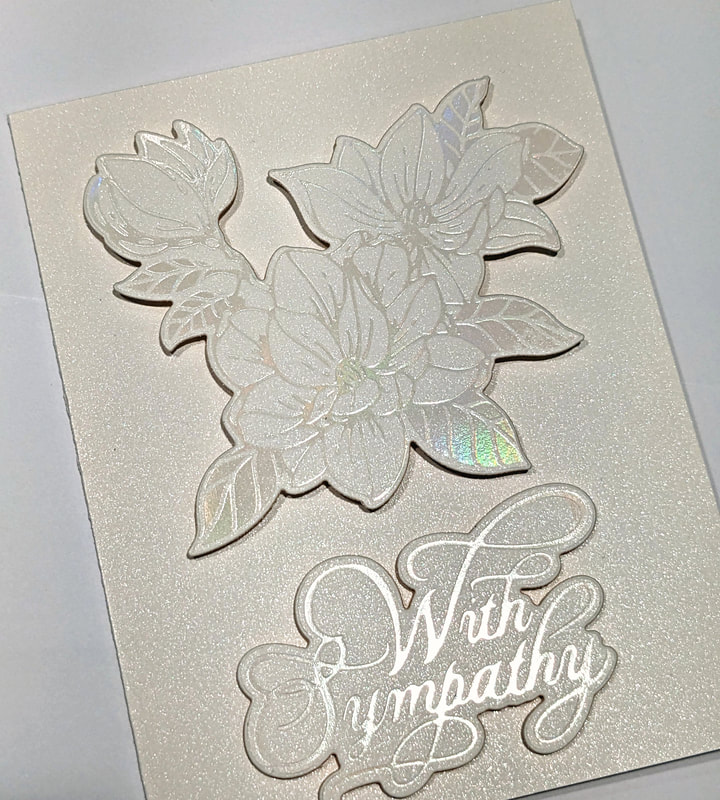
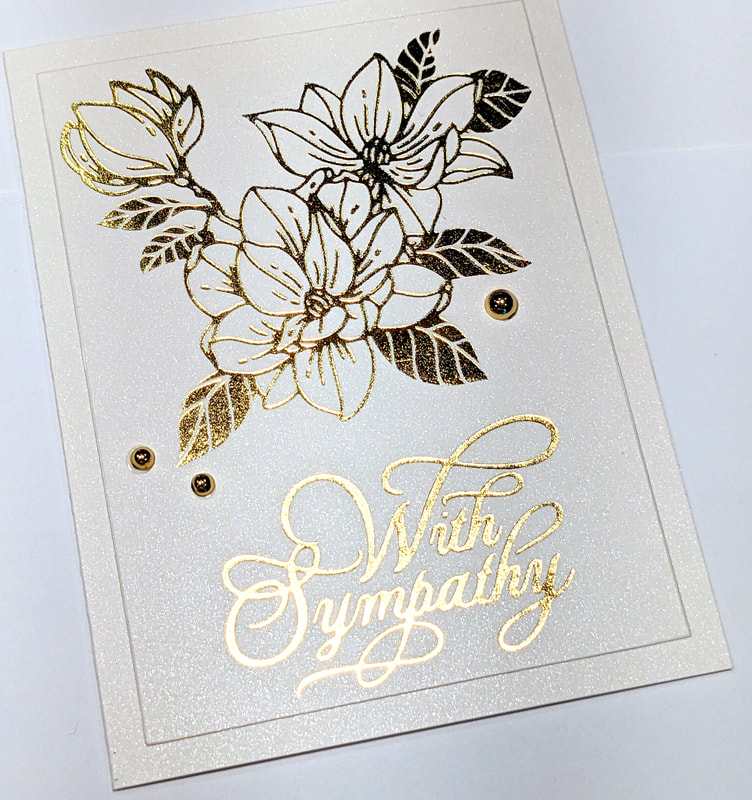
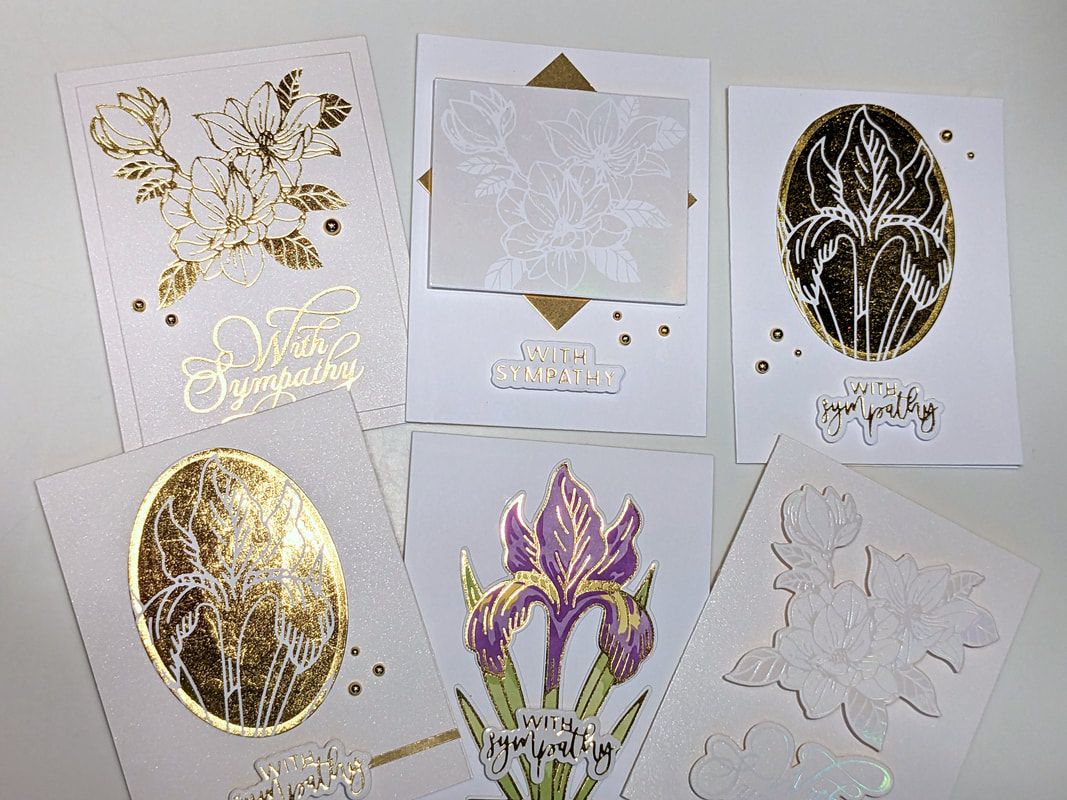
  For the obvious reason, sympathy cards are hard to make. No one ever wants to just sit down and make these. One of my son's former teachers lost her husband recently and I made this card for her. While I didn't know him well, he was always present and willing to help at all the elementary school events. He had such a positive attitude about everything and he always said the funniest things to keep us all laughing. He was so loved and I know he is missed by so many.
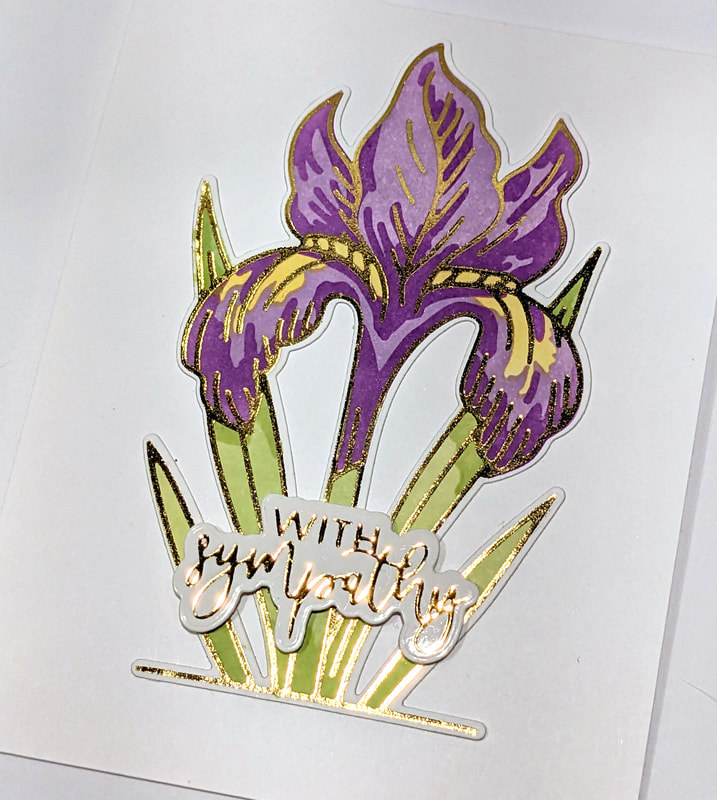
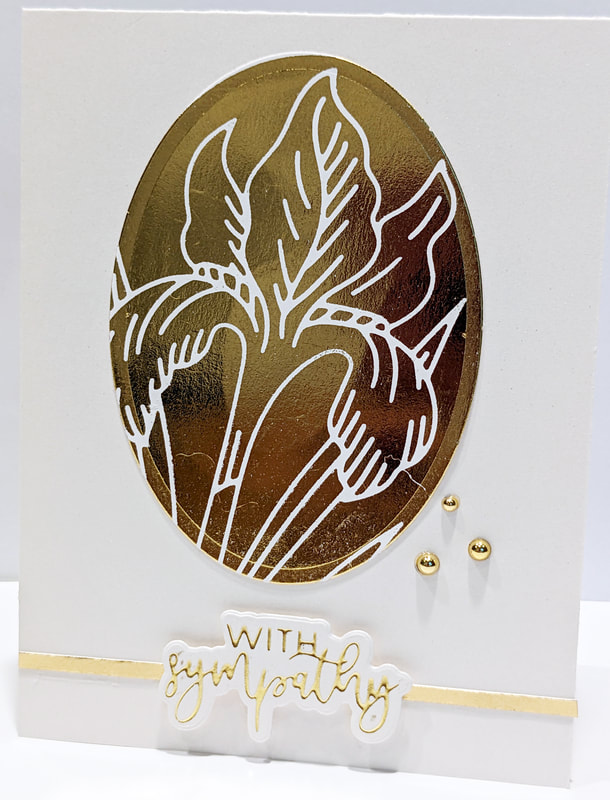
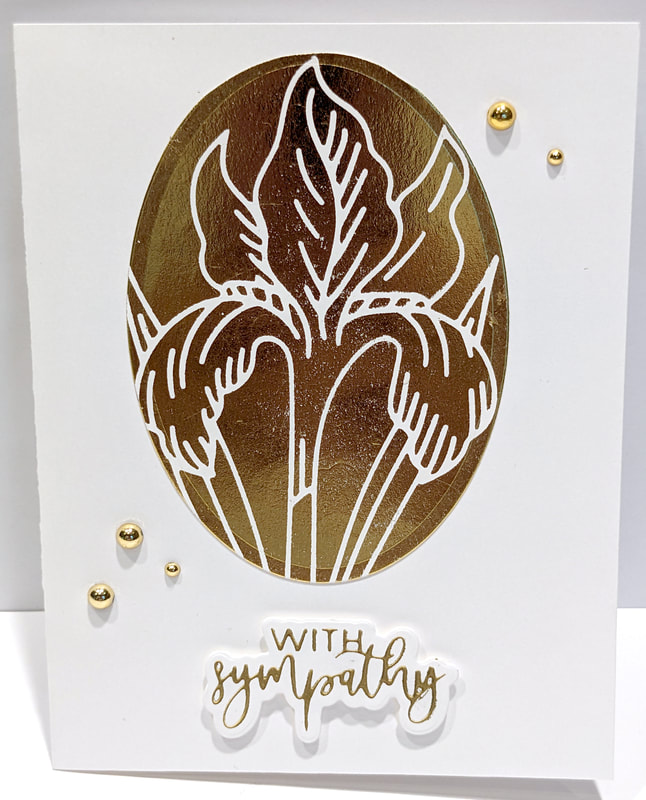
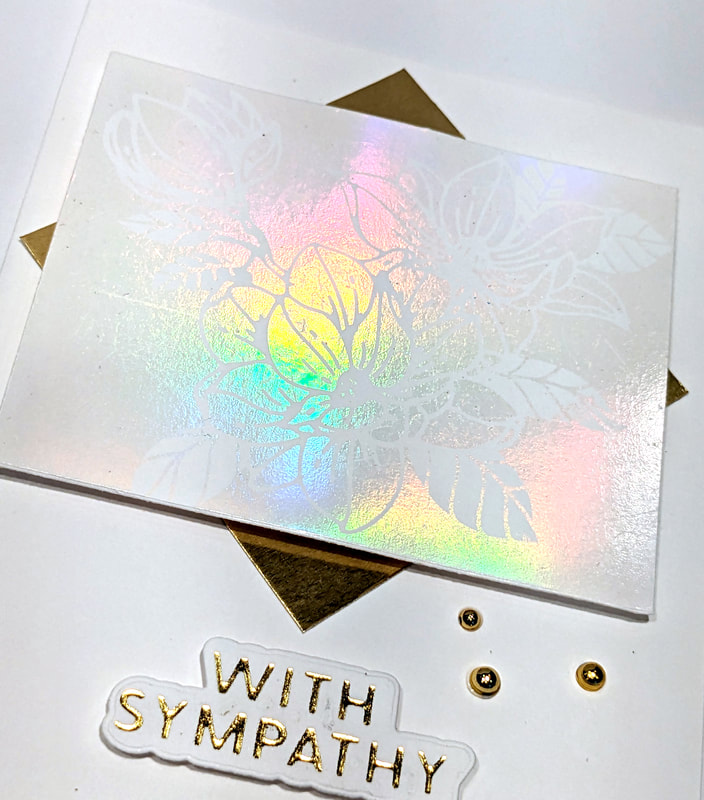
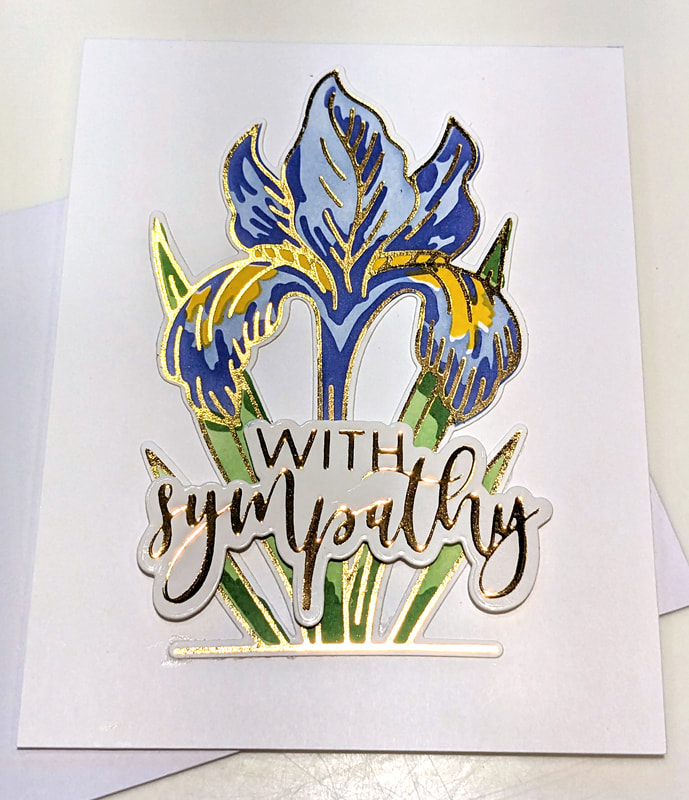
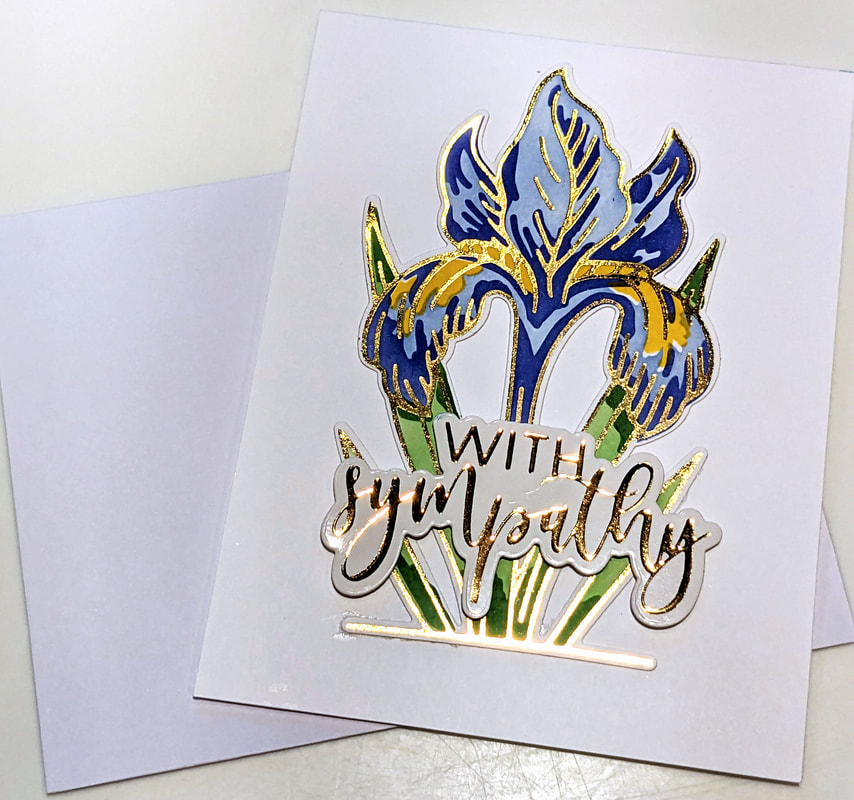
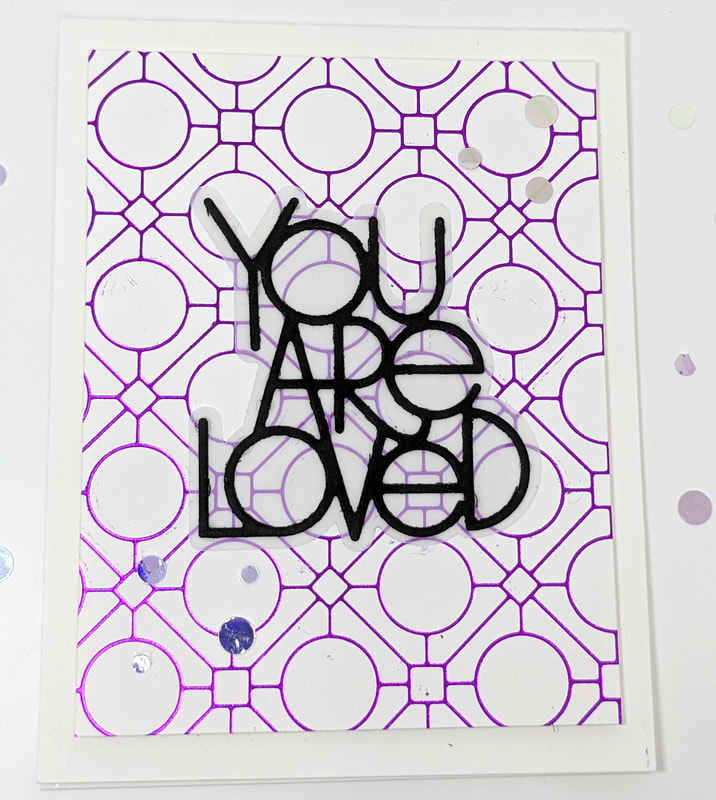
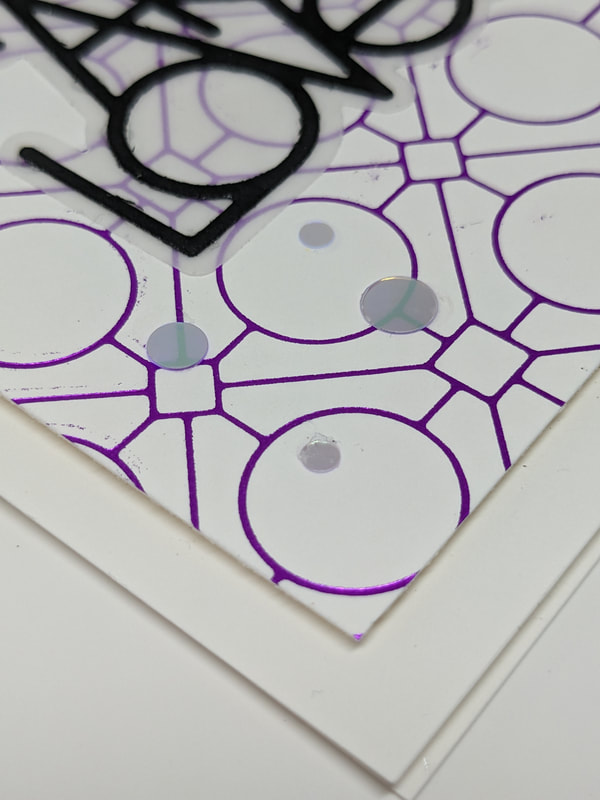
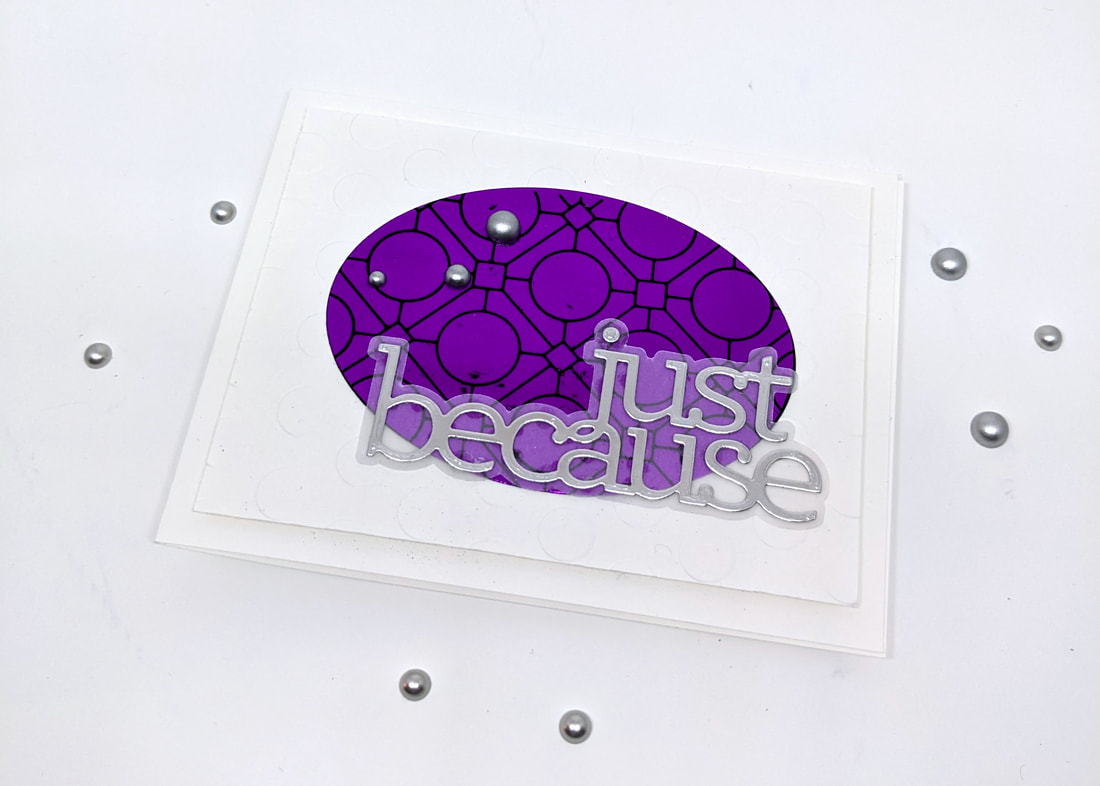
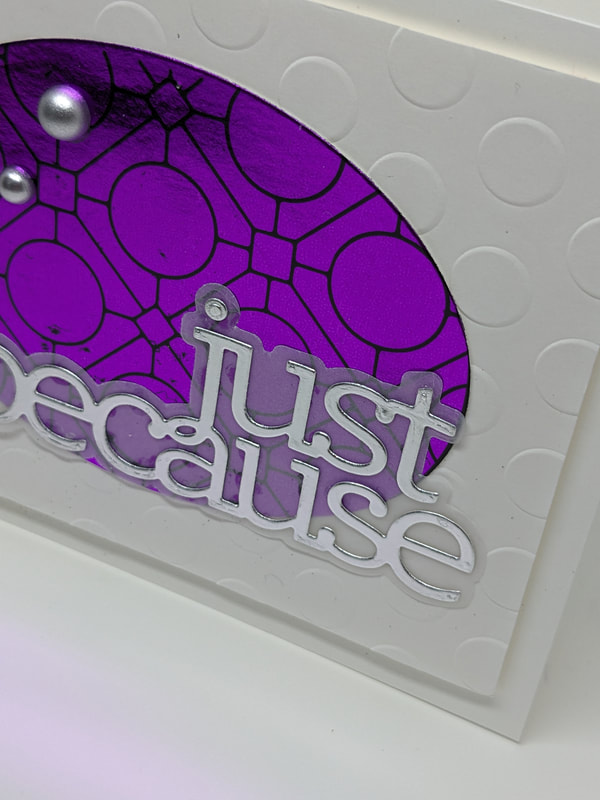
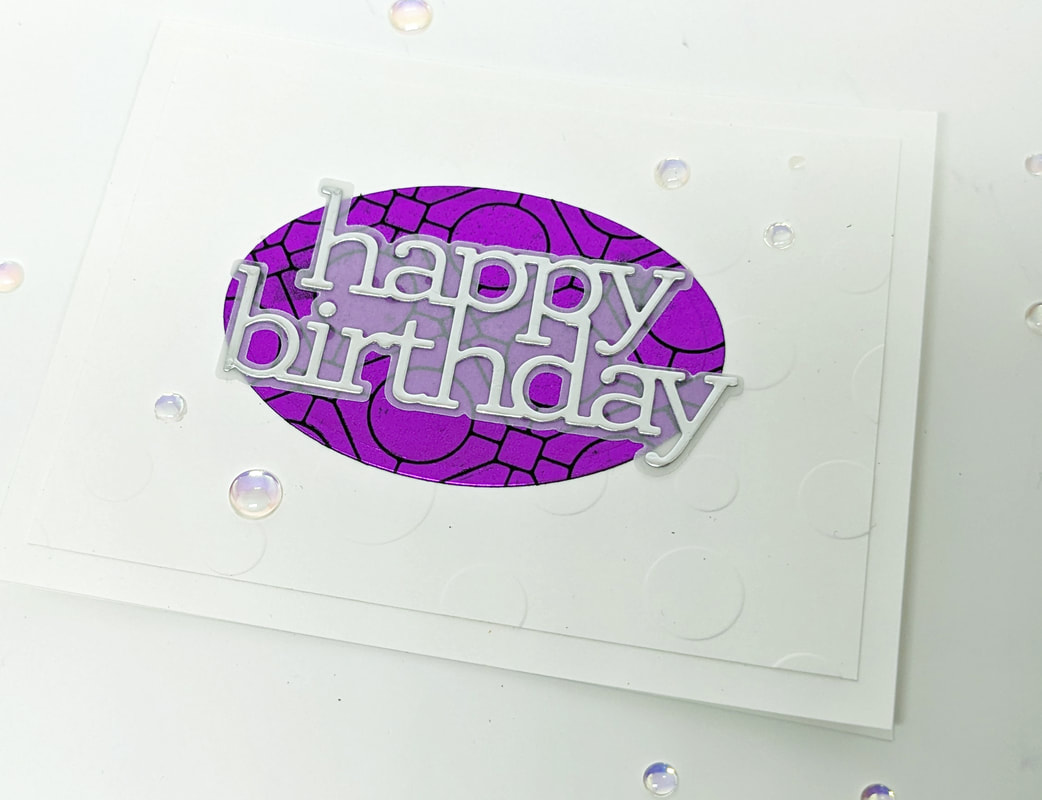
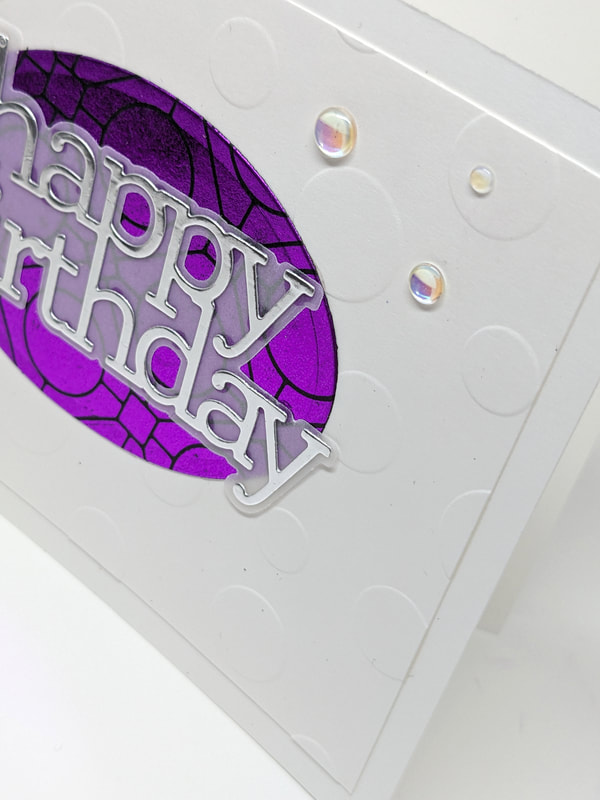
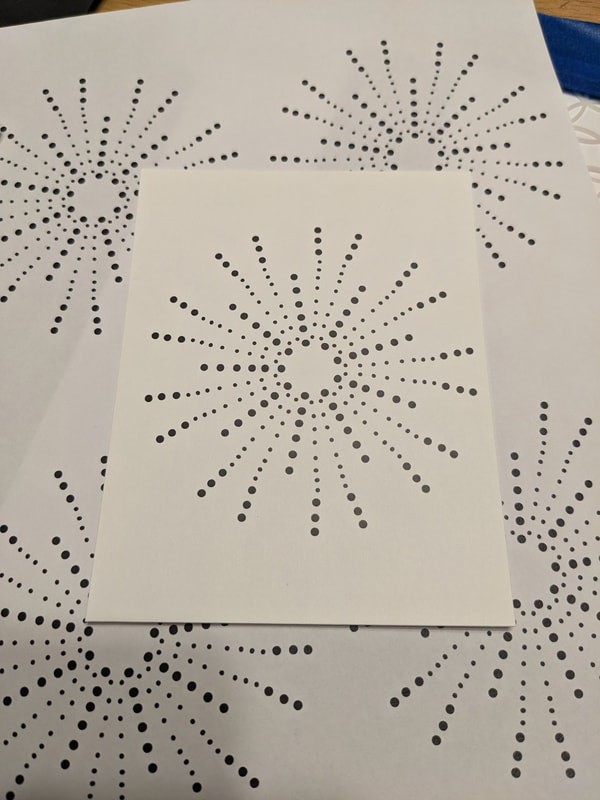
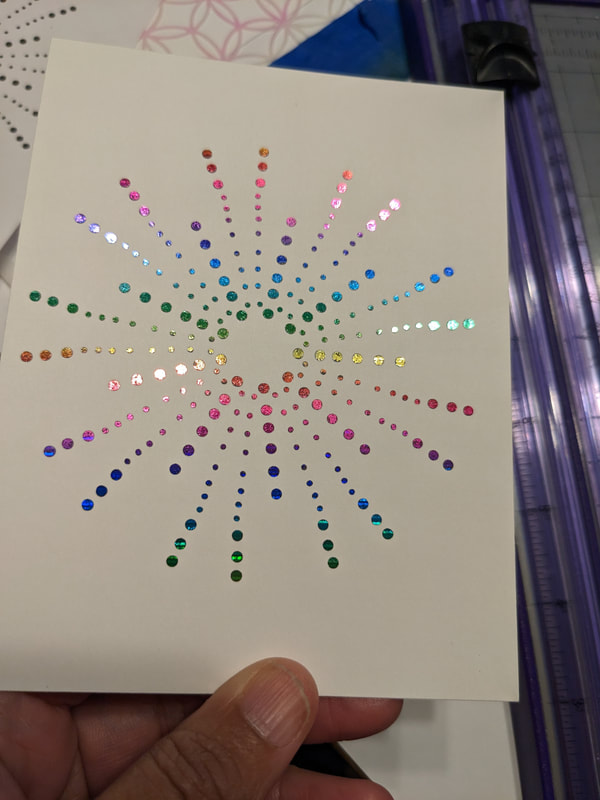
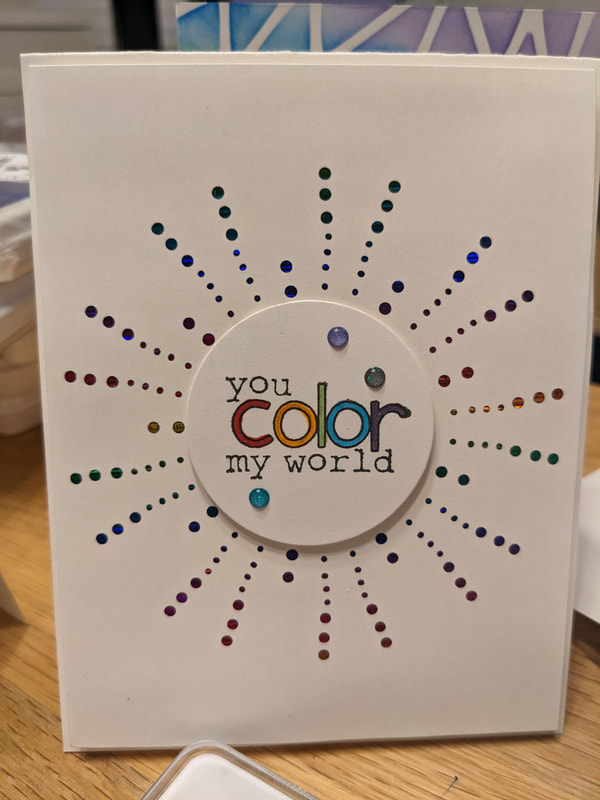
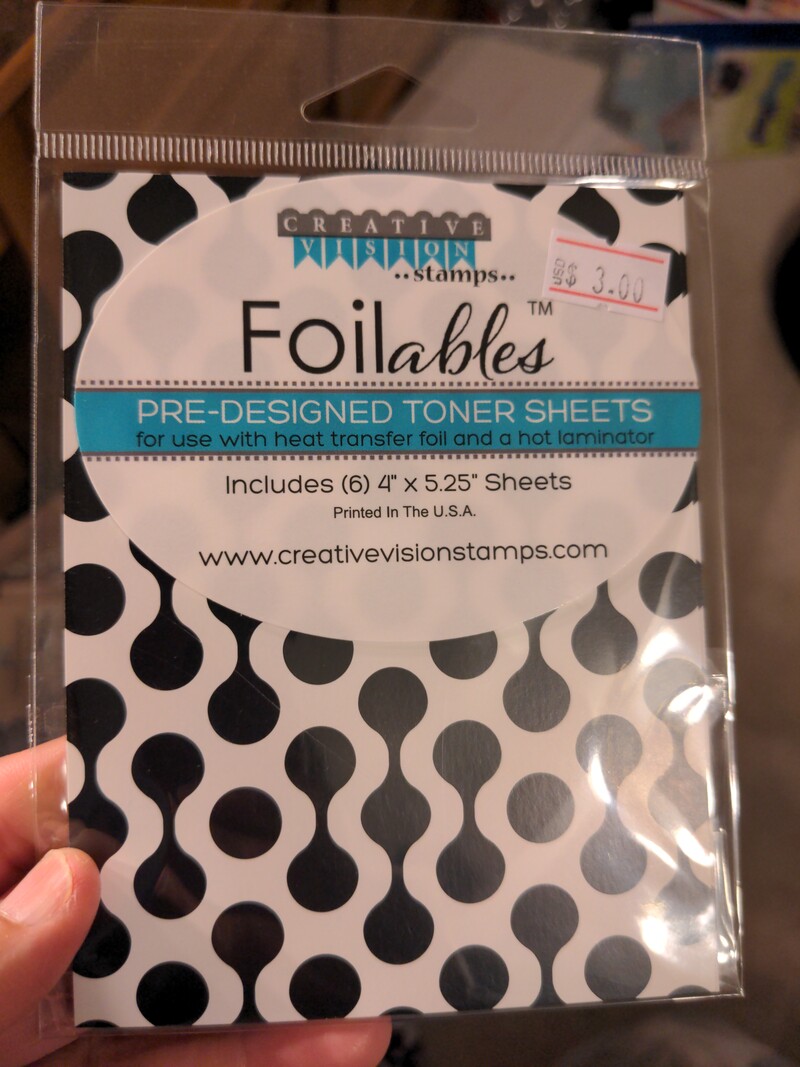
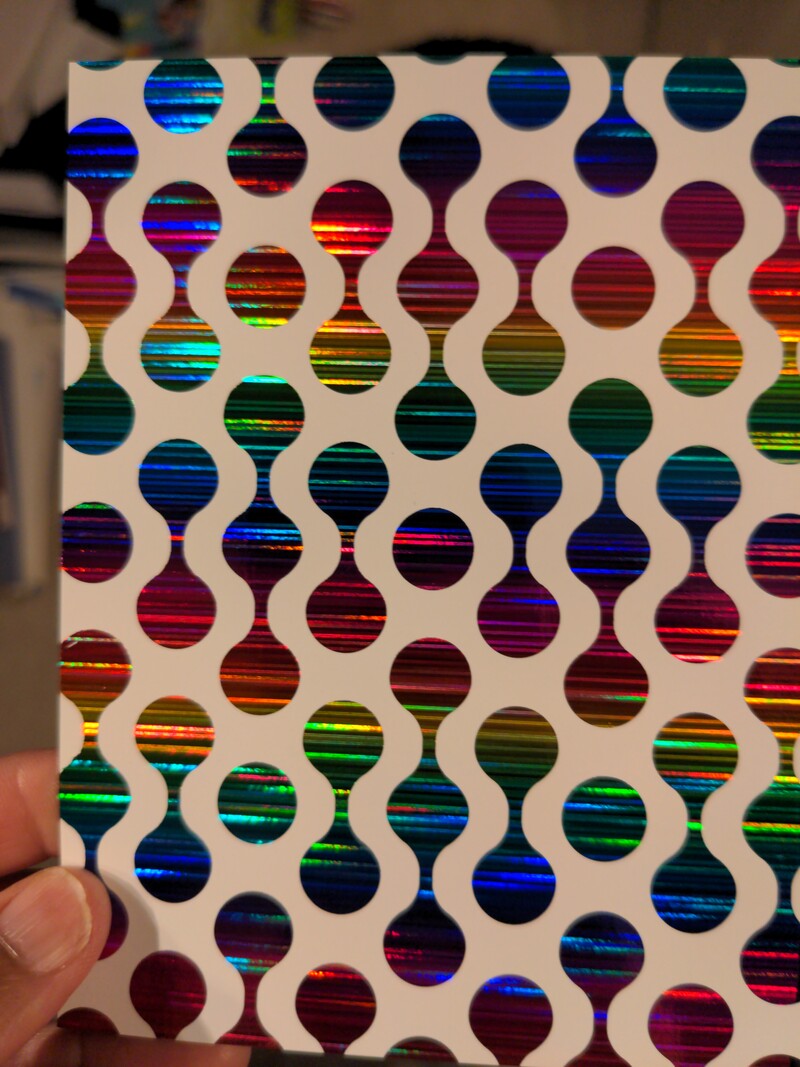
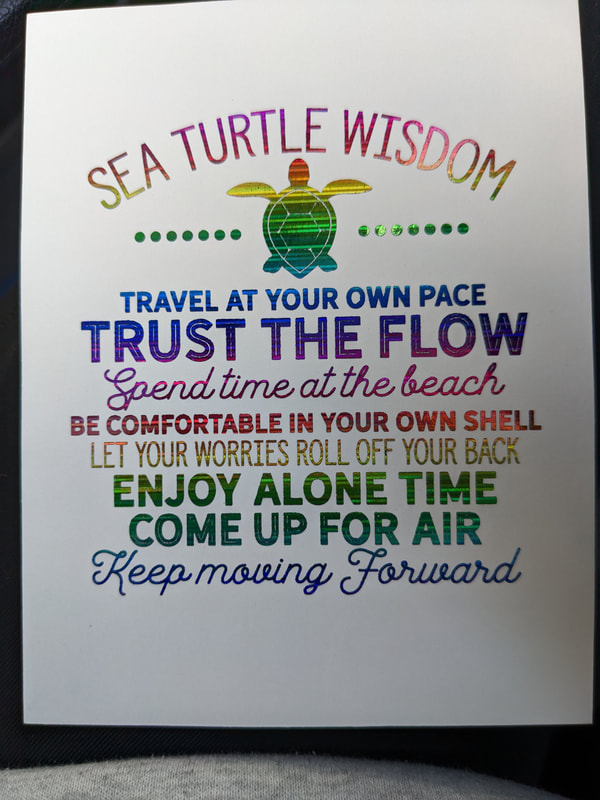
For a while now, I've been searching for the combo of glimmer hot foil plate, matching stencil and matching die. I finally found one with this Waffle Flower Sketched Iris Set. It isn't sold as a set but does have mix and match parts (glimmer hot foil plate, stencil, die, and stamps). I also bought the Waffle Flower With Sympathy Hot Foil Plates for the sentiment. 6/22/2023 0 Comments Cards 9 and 10More lunar paste. It is a little messy but the shimmer is worth it. This time I used yellow (shooting star), green (tropical tango), blue (clear skies) and purple (crown me) on a mod circle stencil. Card 9: Celebrate in a turquoise/teal-ish foil on a turquoise card base Card 10: You are Loved die cut from gold metallic cardstock on vellum 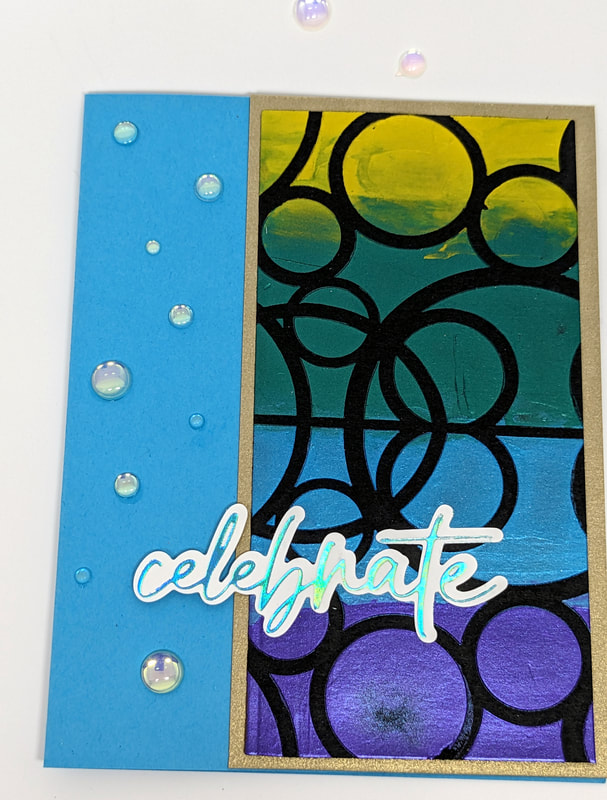 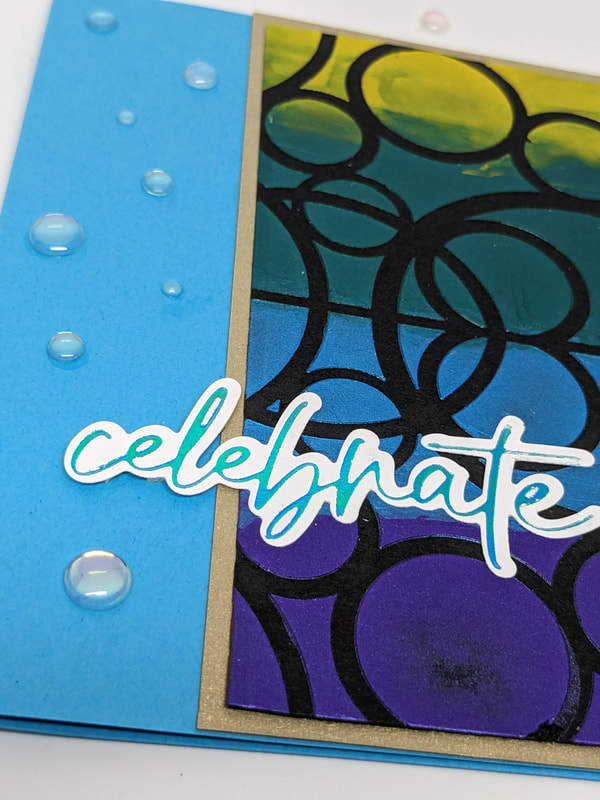 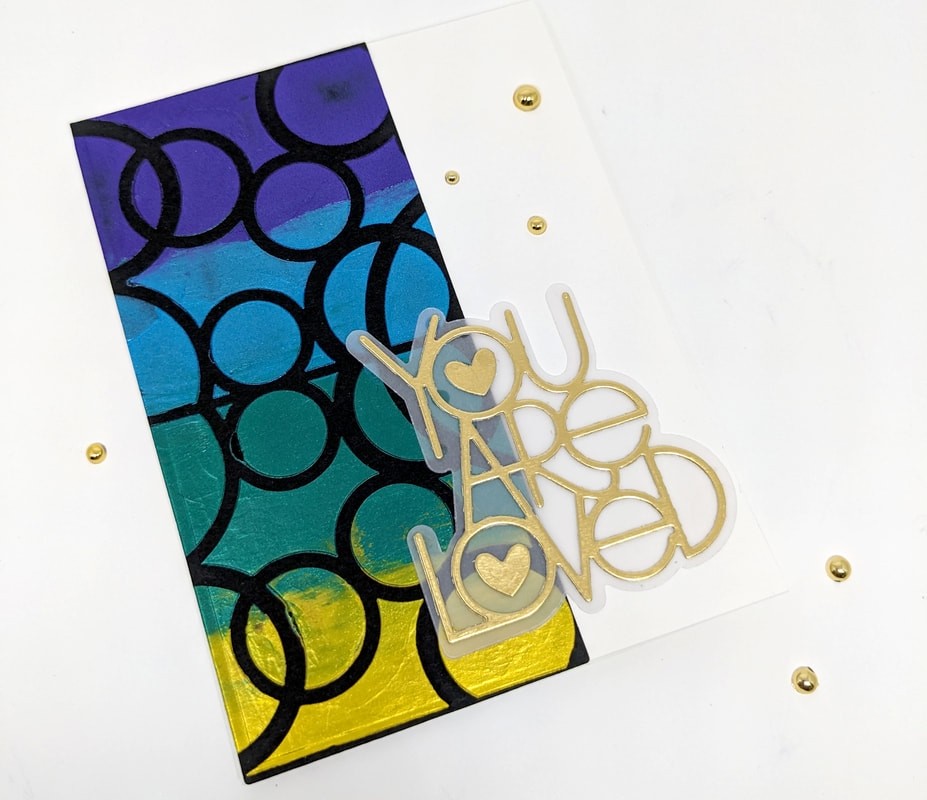 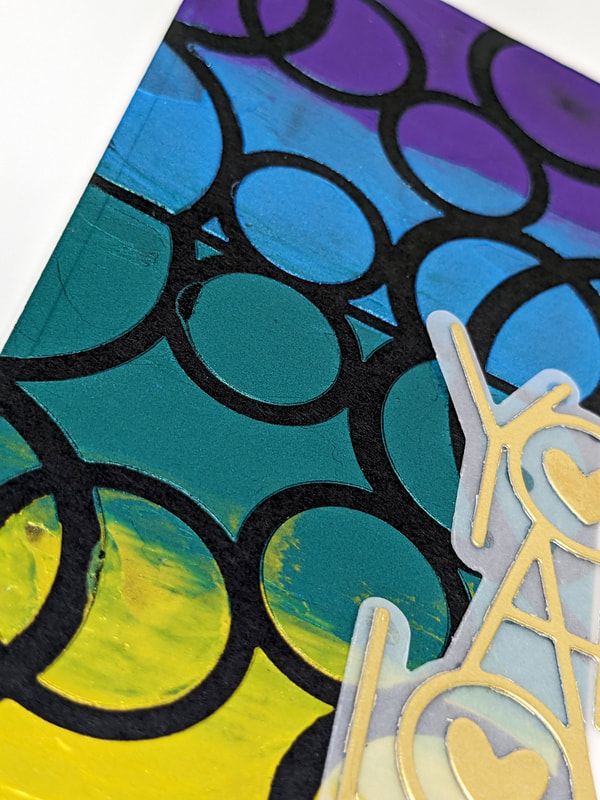 I really like the end result from this glimmer hot foil machine! I bought this Spellbinders Geometric Optical background hot foil plate and I really love it. I foiled a white piece of cardstock in purple foil (duh!). And then I had this "leftover" foil with that pattern on it. I have watched so many hot foiling videos and all those industry experts talk about saving the scraps and doing reverse foiling. WHAT IS THAT? Well, first you need a solid foil plate to put the remnants on and then foil again. With that in mind, I got a solid hot foil oval plate. Then I ran it through the glimmer machine twice because the background was big enough to make 2 ovals. Y'all, that is 3 cards for one piece of foil! YES! Card 3: Purple Geometric Background with "You Are Loved" in black on vellum. The purple foil is so shiny! Card 4: Purple Oval on top of dry embossed dots (all on foam tape) with silver "just because" on vellum. I love the font and size of the just because sentiment. Card 5: Much like the just because but with "happy birthday" in silver. Again. love the font/size and sentiment. What do you think? The purple and silver are good together, right? I've been making so many cards lately but haven't had a chance to post them or blog about them. But that changes today! Last week, I took my new glimmer machine and my lunar pastes over to my crafty friends' house and we just played and made a bunch of stuff. I came home with several backgrounds and spent the next 3 or 4 days trying to turn those into cards. It was way harder than it should have been! In the end, I made 13 cards from the stuff I made that day. I'll blog about them in groups based on the technique used or how they are related. 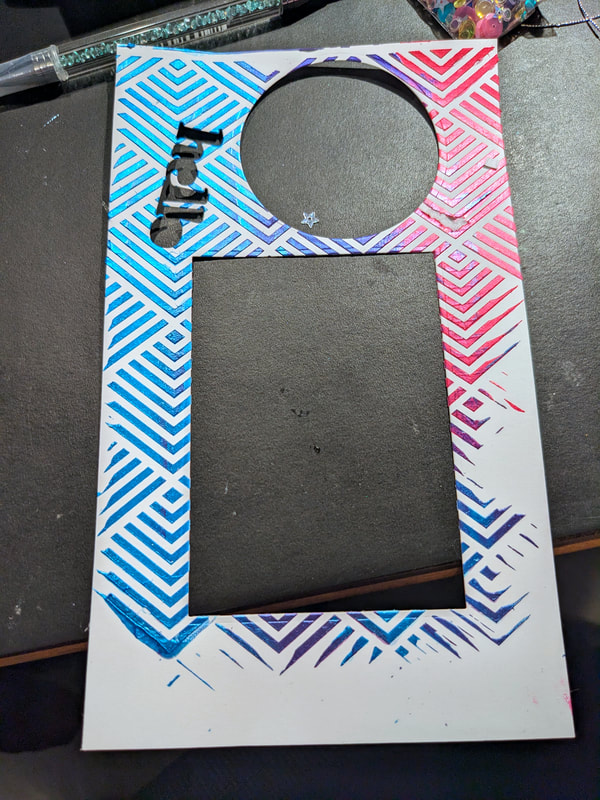 Cards 1 and 2 I recently acquired Simon Hurley's Lunar Paste (don't know about Simon? Google him. Amazing story and he is my oldest son's age). Anyway, his lunar paste is really creamy and dries fairly quickly. I took this pyramid stencil I have and covered it with the clear skies (blue), crown me (purple) and prom queen (pink) lunar paste. I forgot to take the before picture but you can see the cardstock after I cut out the pieces. I got 2 backgrounds plus a sentiment out of that cardstock and probably could have used the scraps, too (I didn't because I was having a hard time figuring out what else to make!) Card 1: Hello Script in Gold Foil. I dry embossed that same stencil on a piece of white cardstock and lined it up with the circle cutout lunar paste background on top of it. Added the gold foiled hello and some bling. Card 2: Bold Hello in Silver Foil. This background was big enough and colorful enough to have it on it's own. Added a little silver metallic cord and popped up the hello foil and it's vellum shadow on some foam tape. If you are interested in purchasing these or any cards I've made, check out my store. 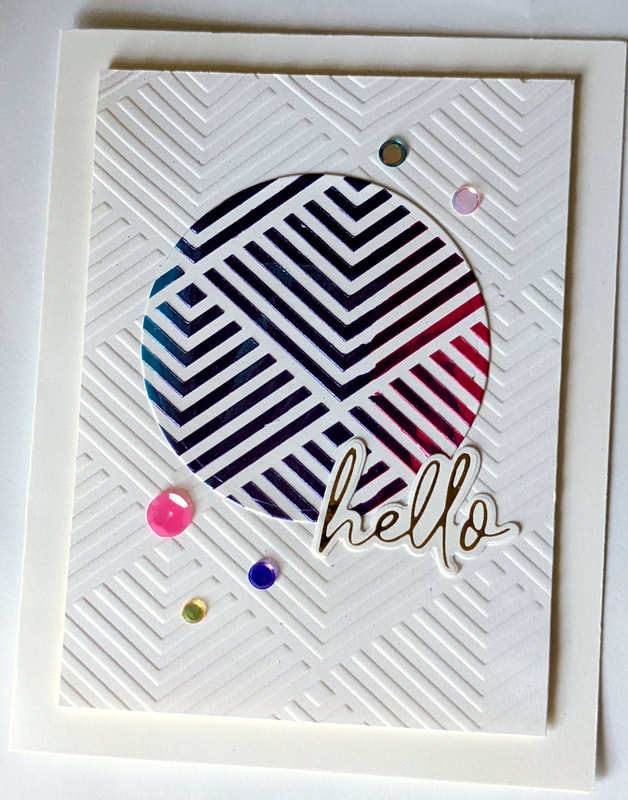 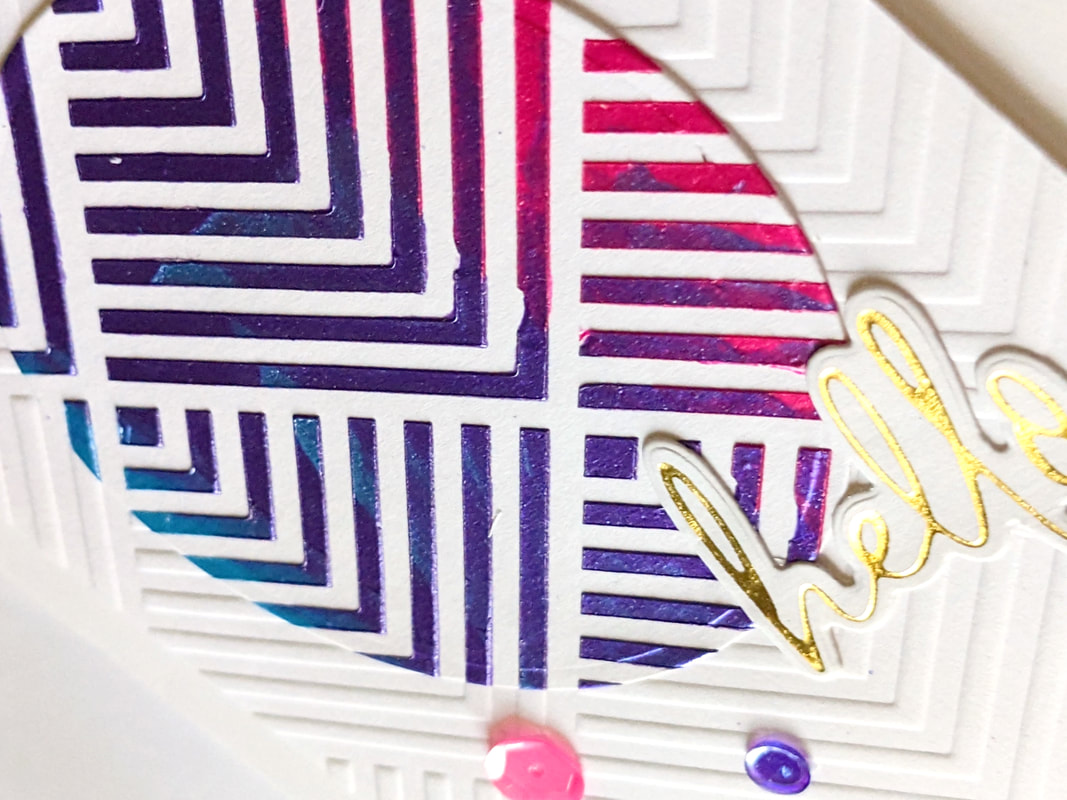 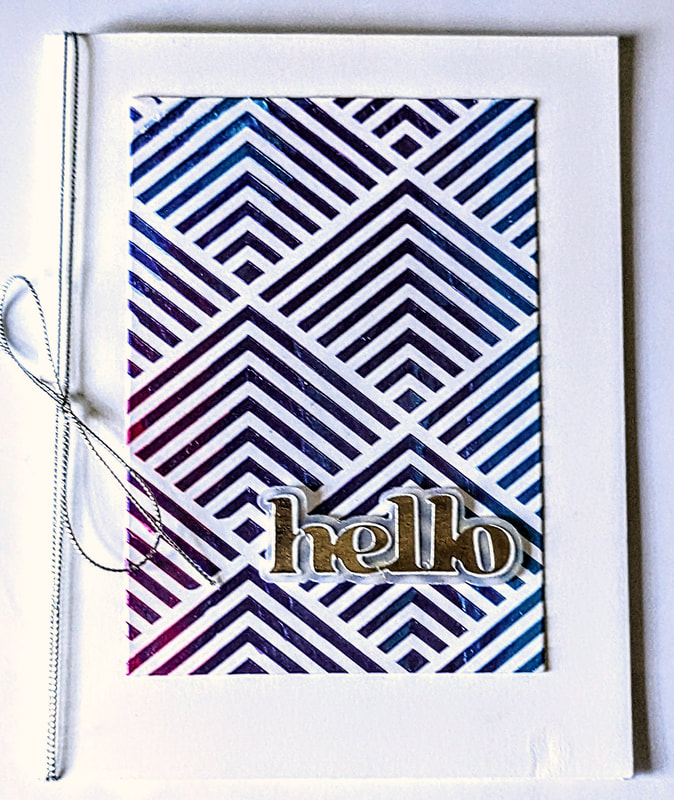 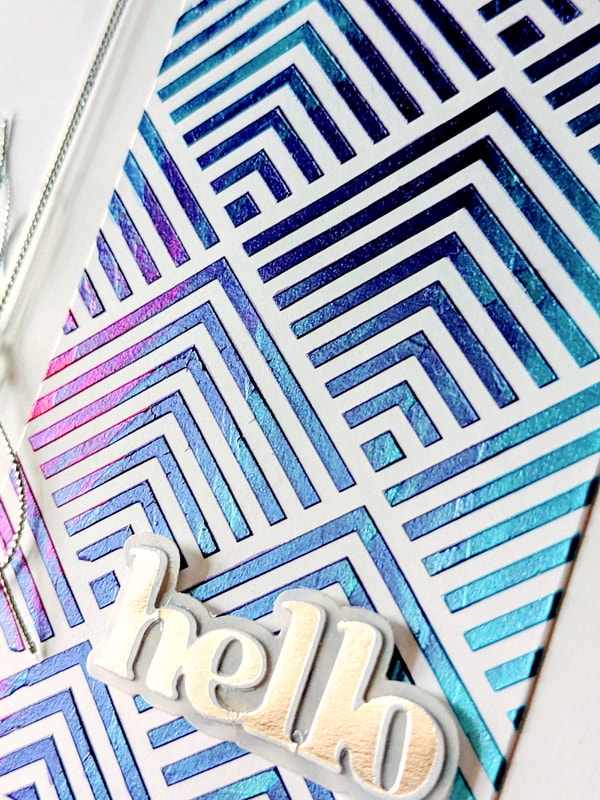 Over the holidays, I went to visit my brother and his wife. They moved to Florida recently. I try to visit any stamp, stationery, crafting stores anywhere I go. And my brother took me to one close to where he lives! Pink & Main! And I, of course, wanted to support this cute, small business and maybe if I bought some stuff I would be more inclined to create more. Makes sense, right? LOL. Thankfully, my brother supports all my crazy adventures and was happy to take me to this store. I bought a few stamps and stencils and a couple of rolls of cheer foil. I didn't know how to use the cheer foil but I had read some about it! I learned I could do this with a laser printer (check!) and a laminator (check!) and some foil (check!). I created some designs on the computer, then printed on a laser print on cardstock and then laminated it with the cheer foil. I bought two roils: a gold and a rainbow one. Here's what I made: |
Archives
July 2023
CategoriesAll Copic Markers Dry Embossing Foiling Ink Blending Interactive Cards Pastes Pastes & Gels Stencils All content, including text, photographs, and concept design works, are copyrighted by me, unless otherwise noted. You may use designs for personal inspiration use only Thank you so much for your support!
|

 RSS Feed