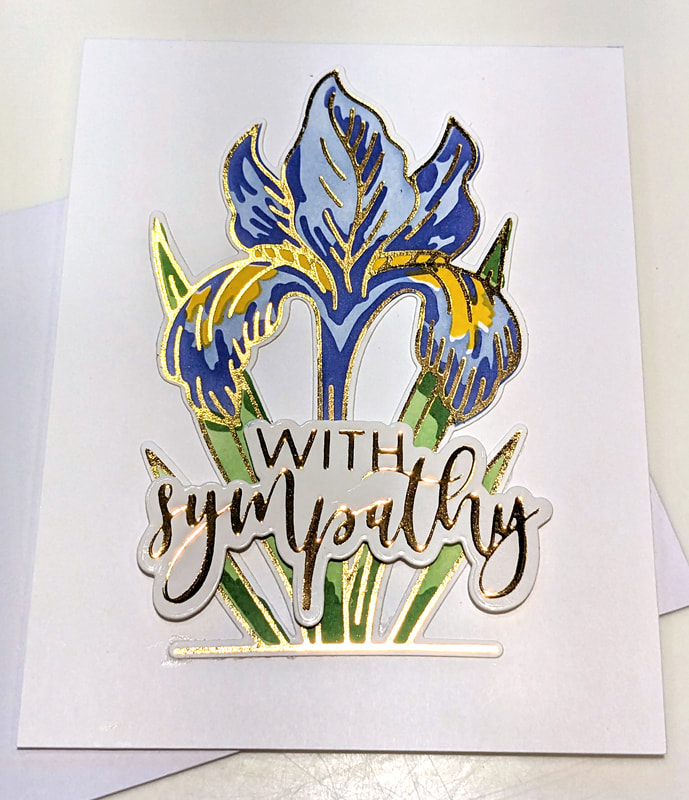
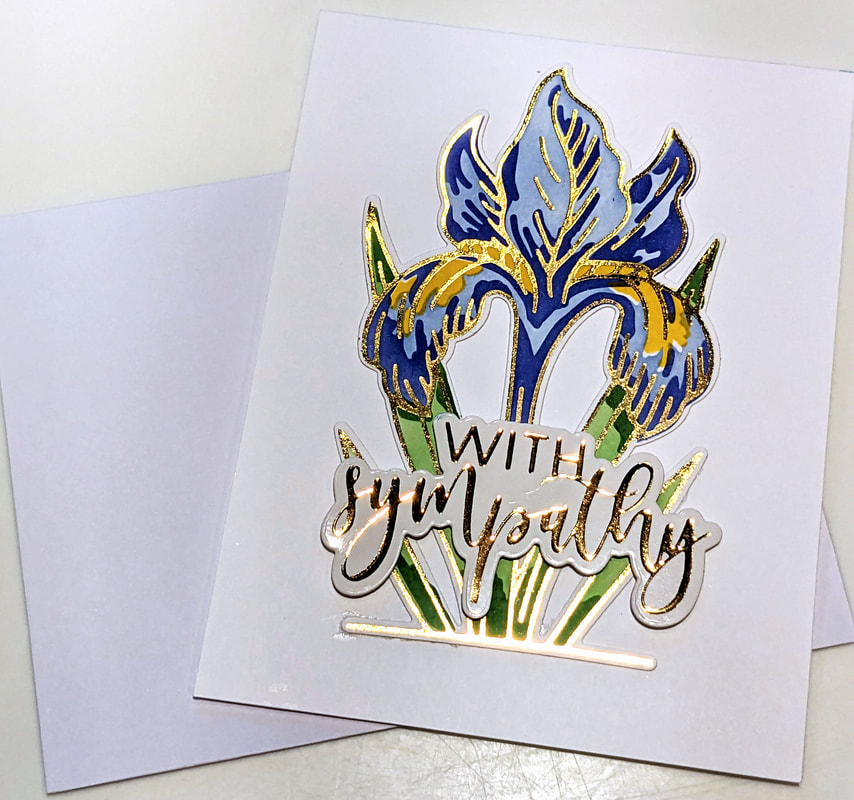
  For the obvious reason, sympathy cards are hard to make. No one ever wants to just sit down and make these. One of my son's former teachers lost her husband recently and I made this card for her. While I didn't know him well, he was always present and willing to help at all the elementary school events. He had such a positive attitude about everything and he always said the funniest things to keep us all laughing. He was so loved and I know he is missed by so many.
For a while now, I've been searching for the combo of glimmer hot foil plate, matching stencil and matching die. I finally found one with this Waffle Flower Sketched Iris Set. It isn't sold as a set but does have mix and match parts (glimmer hot foil plate, stencil, die, and stamps). I also bought the Waffle Flower With Sympathy Hot Foil Plates for the sentiment.
0 Comments
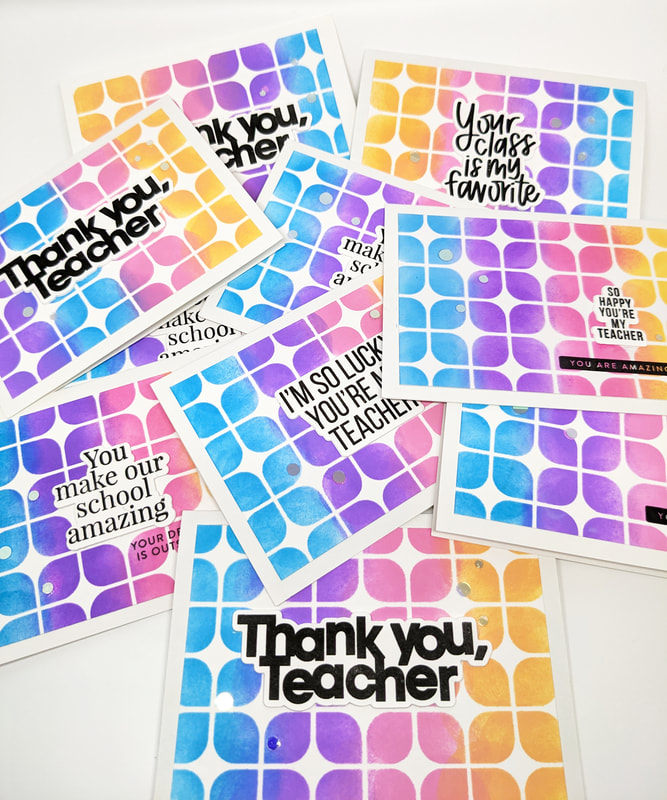
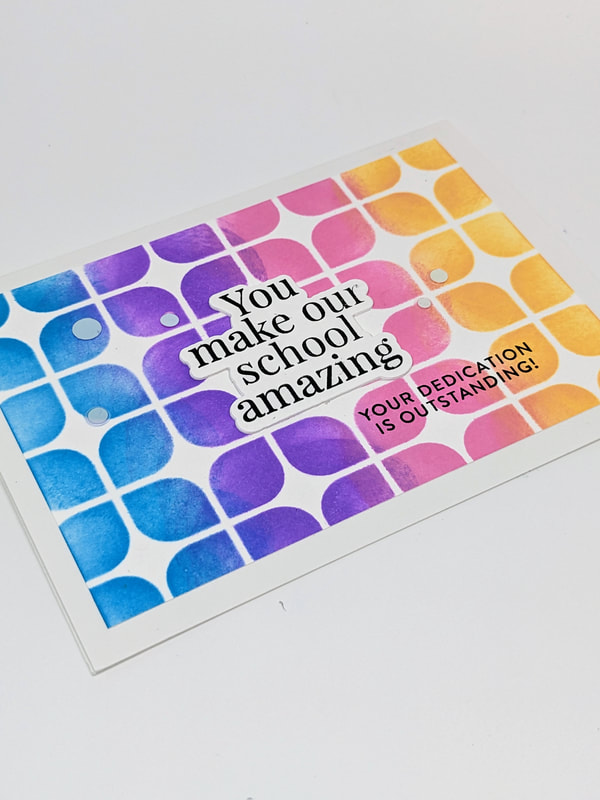
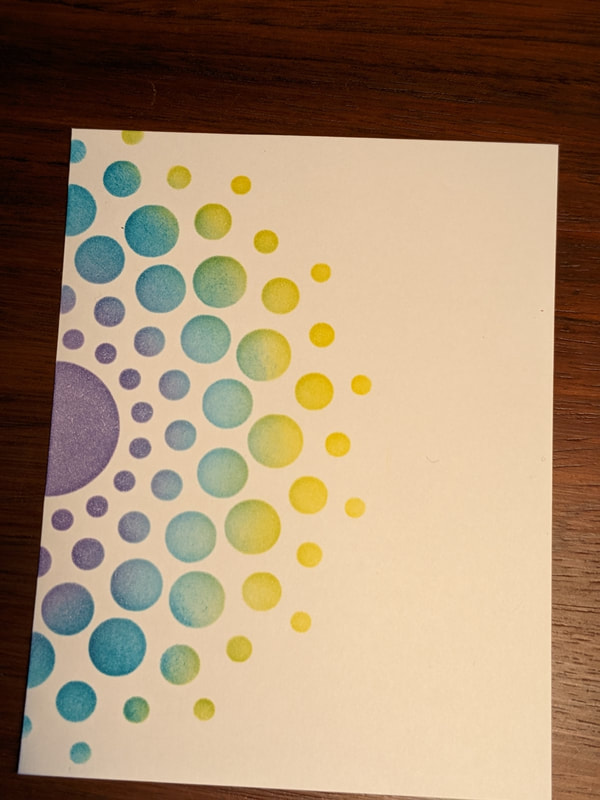
 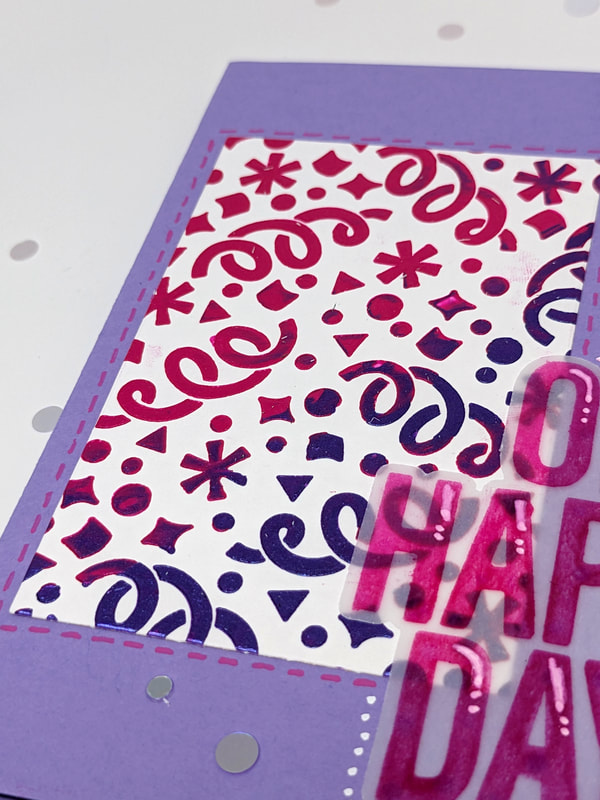 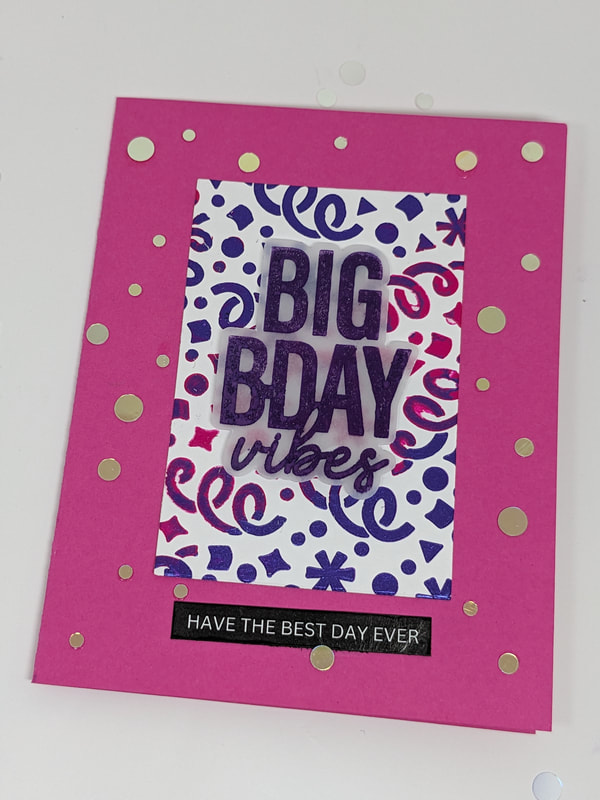  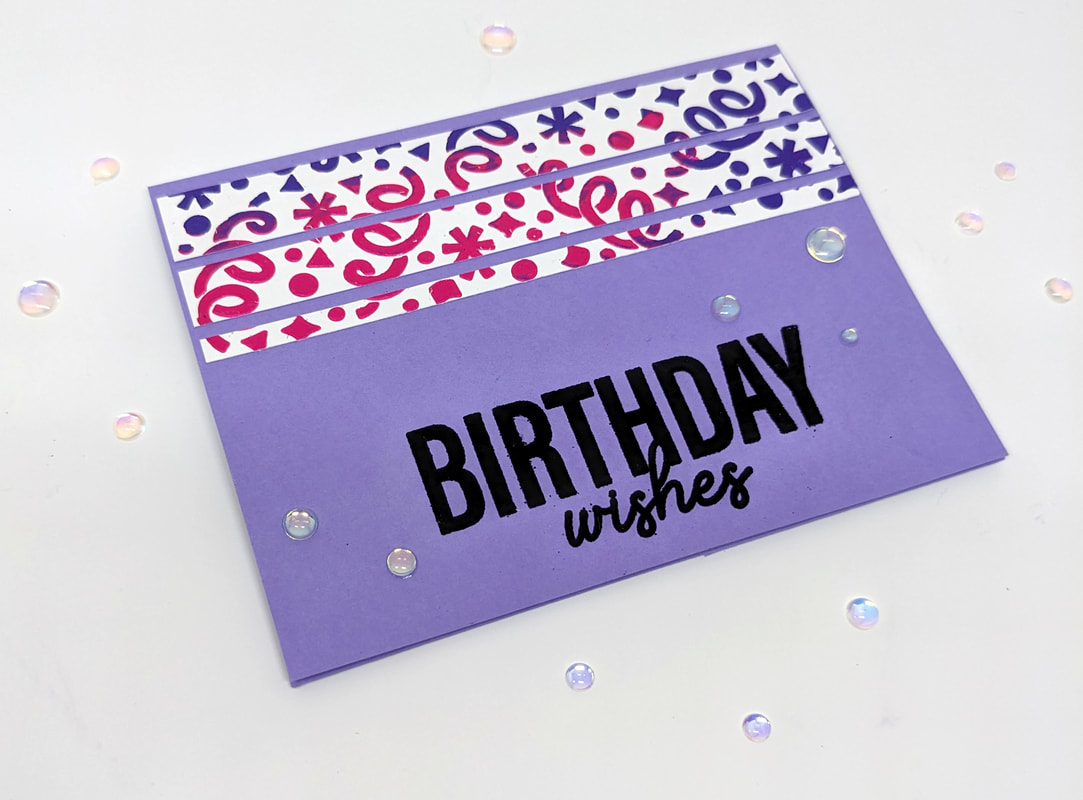 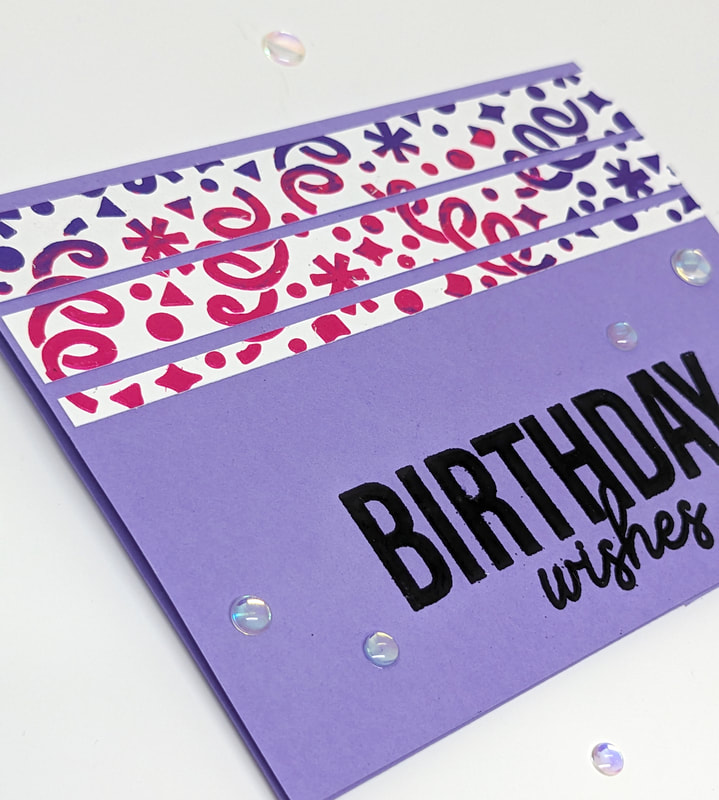 Once again, used Simon Hurley's Lunar Paste in Crown Me (purple) and Prom Queen (pink) and Newton's Nook's Confetti Stencil on a 6x6 piece of white cardstock. The hard part here was what to do with it after it dried. I ended up cutting it to have two rectangles, thinking I'd use them on two cards but then I still had another strip left over so I ended up making 3 cards from this one background!
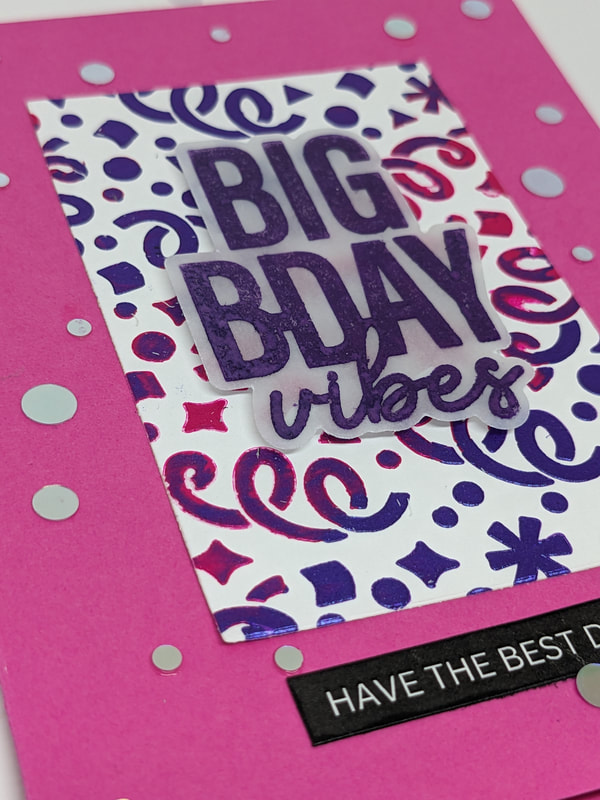
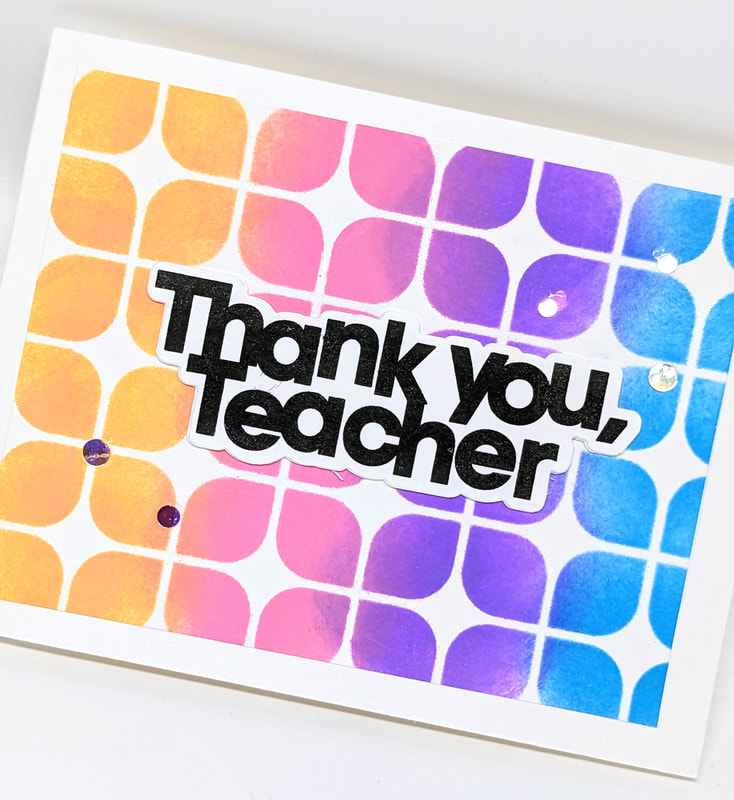
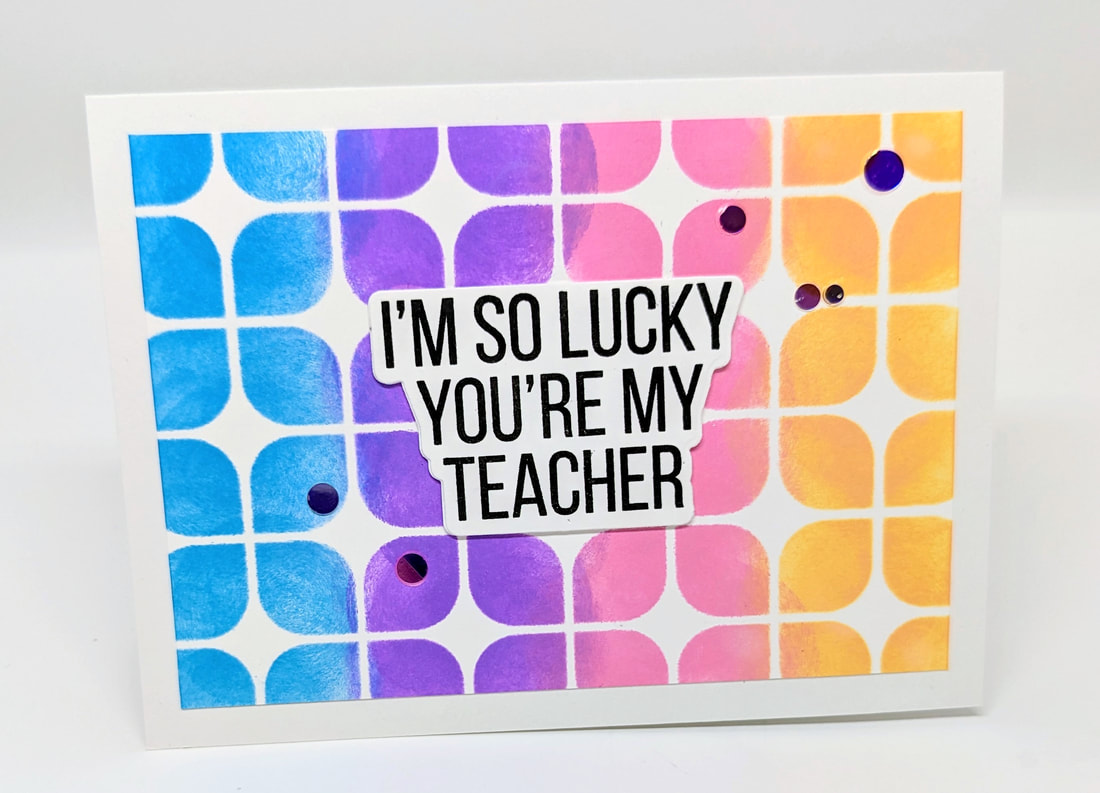
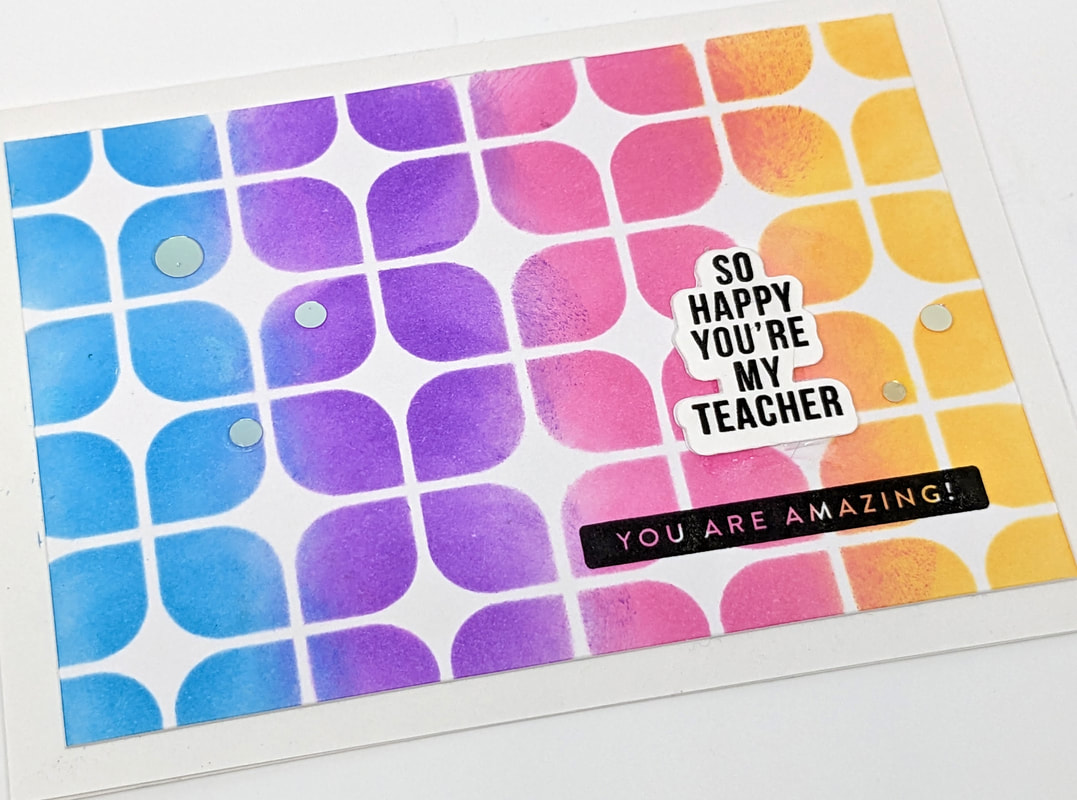
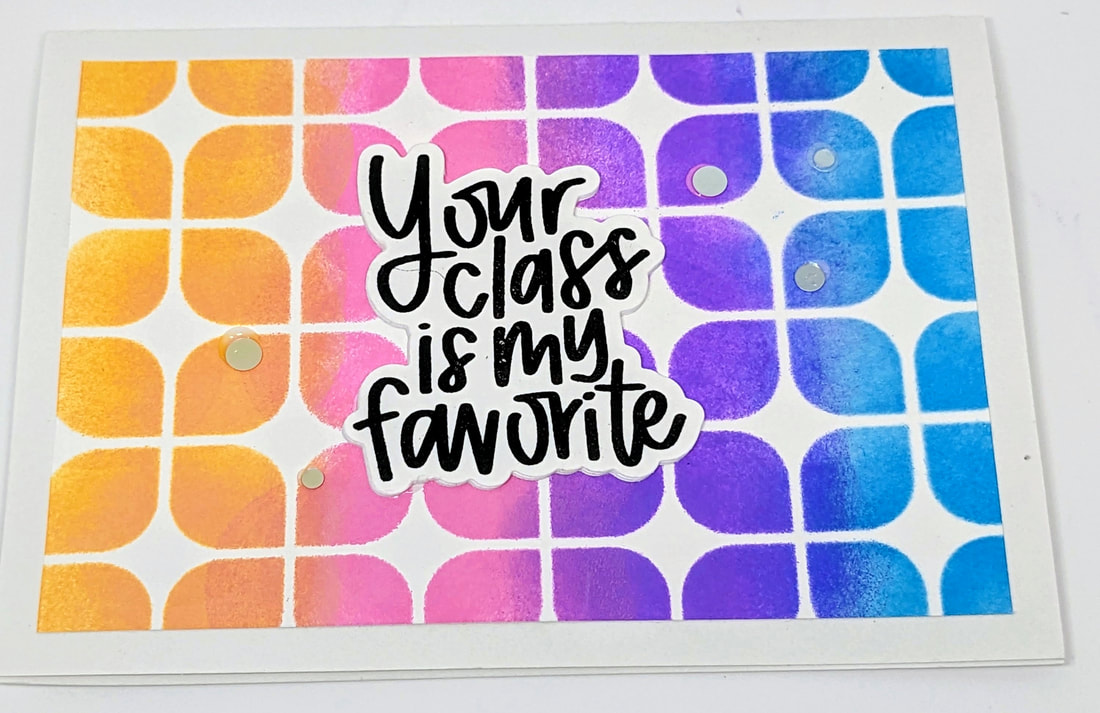
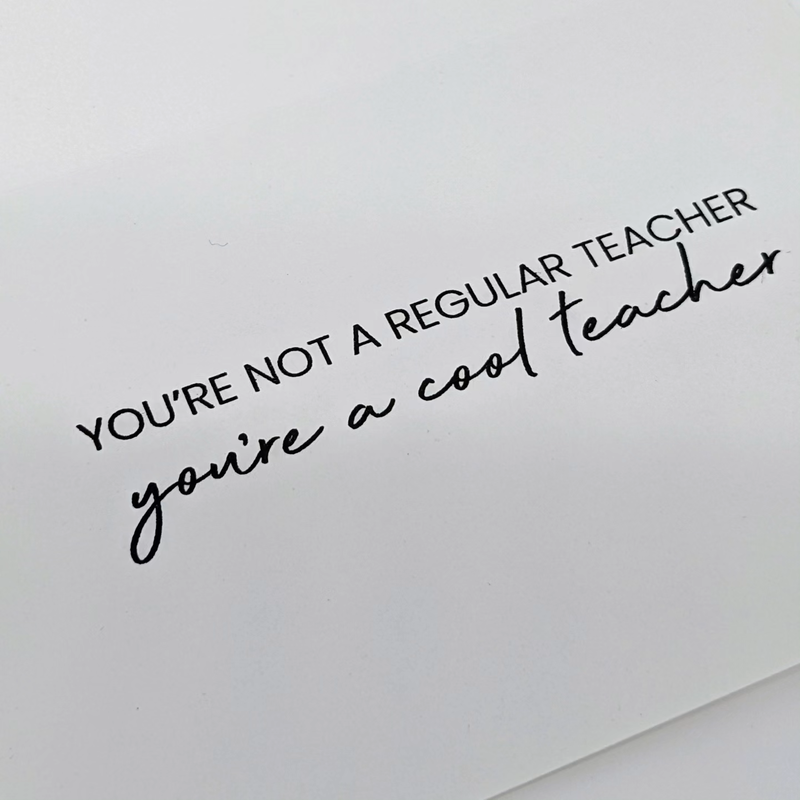
Card 6: OH HAPPY DAY! is pink oxide ink embossed on vellum with clear embossing powder, all laid out on a lilac card base Card 7: BIG BDAY vibes is purple oxide ink embossed on vellum with clear embossing powder on a hot pink card base Card 8: Birthday wishes is black ink embossed with black embossing powder on a lilac card base I've been making so many cards lately but haven't had a chance to post them or blog about them. But that changes today! Last week, I took my new glimmer machine and my lunar pastes over to my crafty friends' house and we just played and made a bunch of stuff. I came home with several backgrounds and spent the next 3 or 4 days trying to turn those into cards. It was way harder than it should have been! In the end, I made 13 cards from the stuff I made that day. I'll blog about them in groups based on the technique used or how they are related. 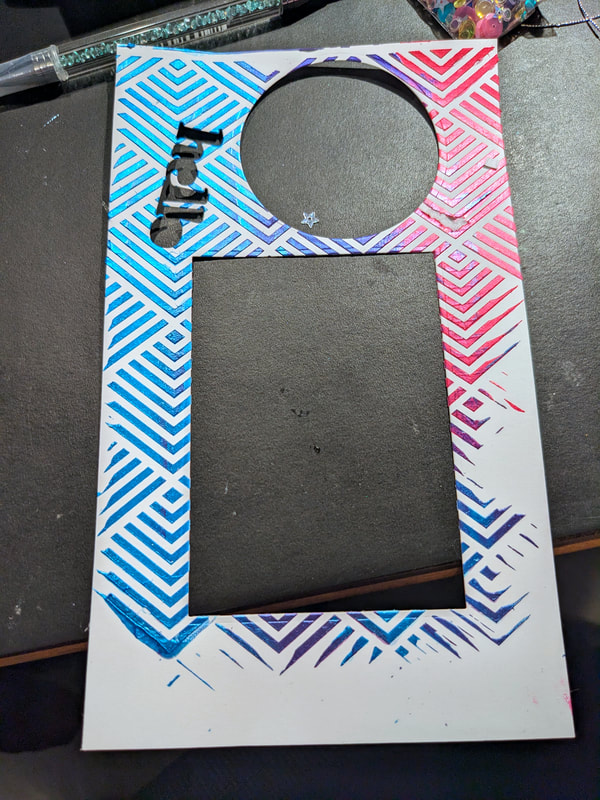 Cards 1 and 2 I recently acquired Simon Hurley's Lunar Paste (don't know about Simon? Google him. Amazing story and he is my oldest son's age). Anyway, his lunar paste is really creamy and dries fairly quickly. I took this pyramid stencil I have and covered it with the clear skies (blue), crown me (purple) and prom queen (pink) lunar paste. I forgot to take the before picture but you can see the cardstock after I cut out the pieces. I got 2 backgrounds plus a sentiment out of that cardstock and probably could have used the scraps, too (I didn't because I was having a hard time figuring out what else to make!) Card 1: Hello Script in Gold Foil. I dry embossed that same stencil on a piece of white cardstock and lined it up with the circle cutout lunar paste background on top of it. Added the gold foiled hello and some bling. Card 2: Bold Hello in Silver Foil. This background was big enough and colorful enough to have it on it's own. Added a little silver metallic cord and popped up the hello foil and it's vellum shadow on some foam tape. If you are interested in purchasing these or any cards I've made, check out my store. 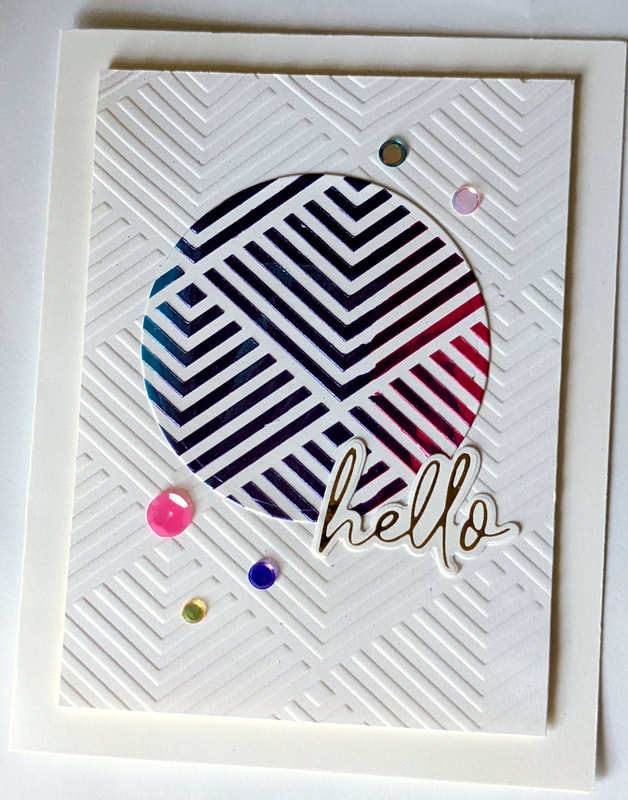 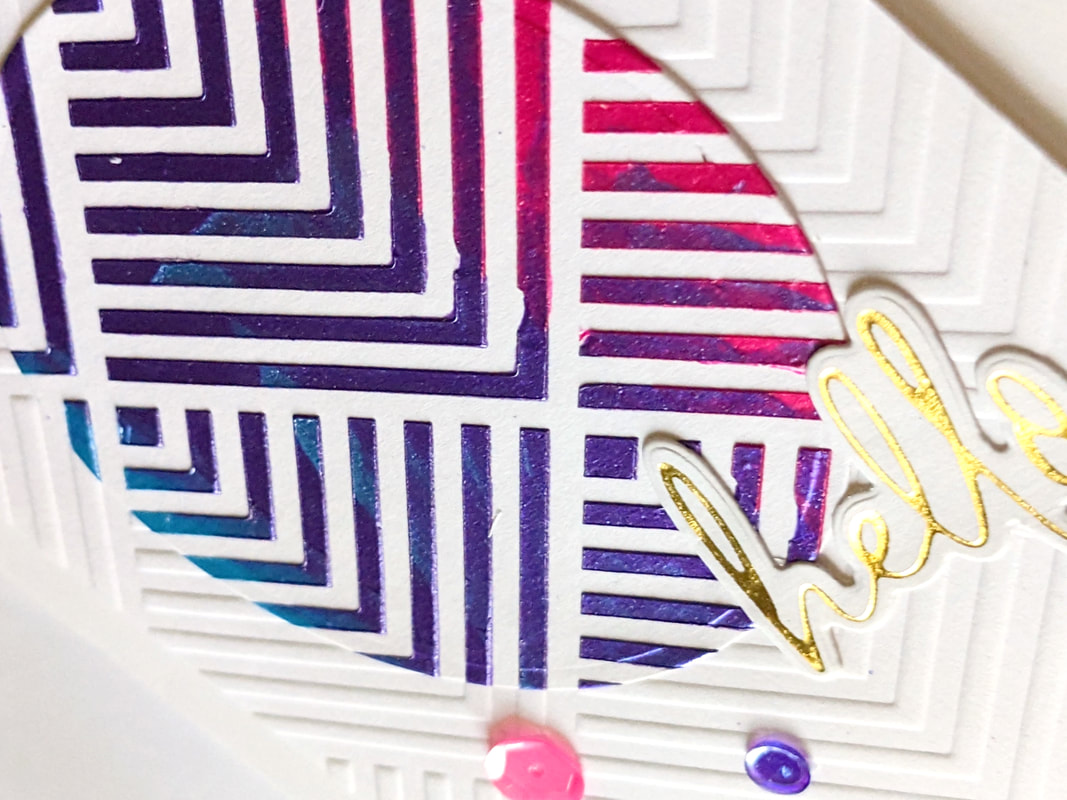 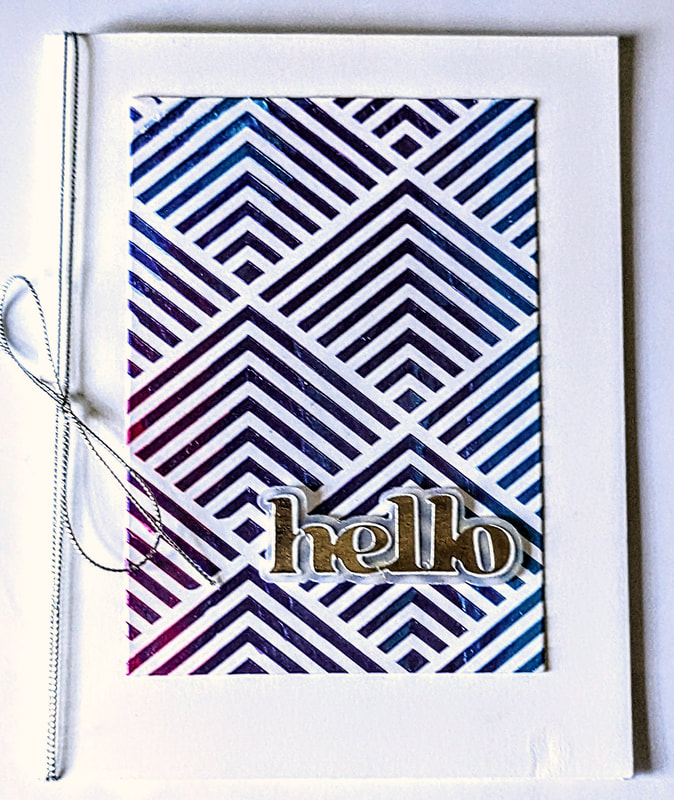 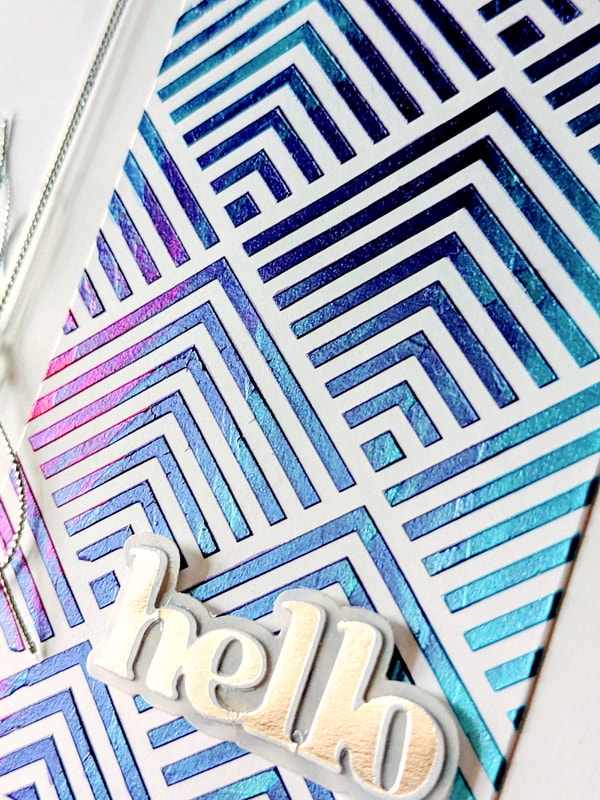 I volunteer at my kid's high school and work a lot with the admin including the principal, academy director, assistant principals, counselors and office staff. One of my favorite people, our academy director, retired this year. I will surely miss him and his laid back, carefree attitude. Everything he did, he did for the kids but he did it with humor, music and coffee! There was always classic rock playing around him and he always had a coffee in his hand. I wish him all the coffee he can imbibe in retirement and hope he keeps playing that music all day long. 100% copied/cased Laura Bassen's card off the simonsaysstamp blog here: https://www.simonsaysstampblog.com/blog/amore-laurafadora-fading-stars/. 100%. Thank you, Laura Bassen. 5/25/2023 0 Comments Teacher Cards!End of year Teacher/Staff Cards! Happy last day of school!
4/21/2023 0 Comments Stencil Class full circle.
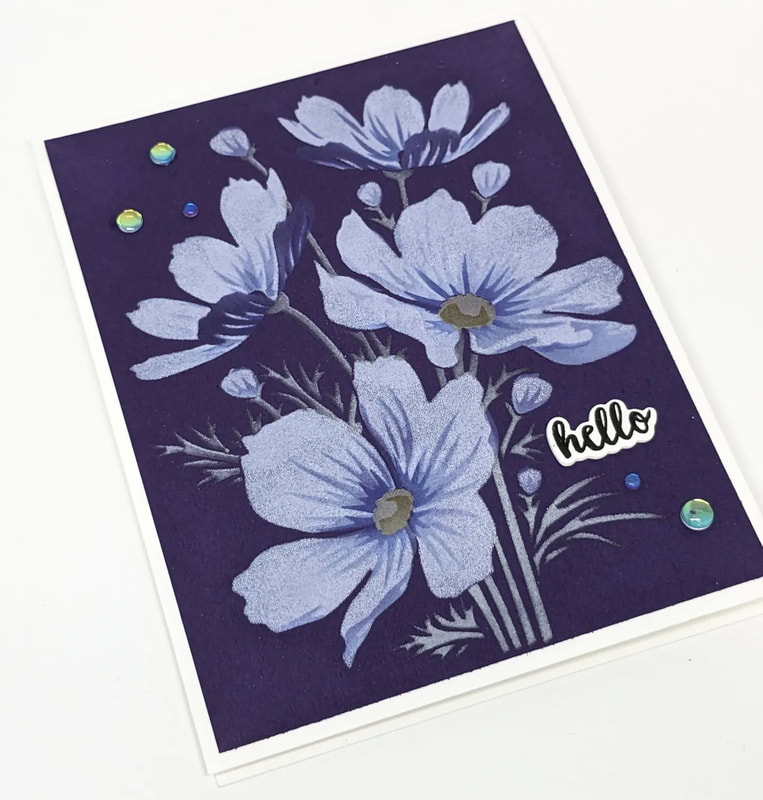
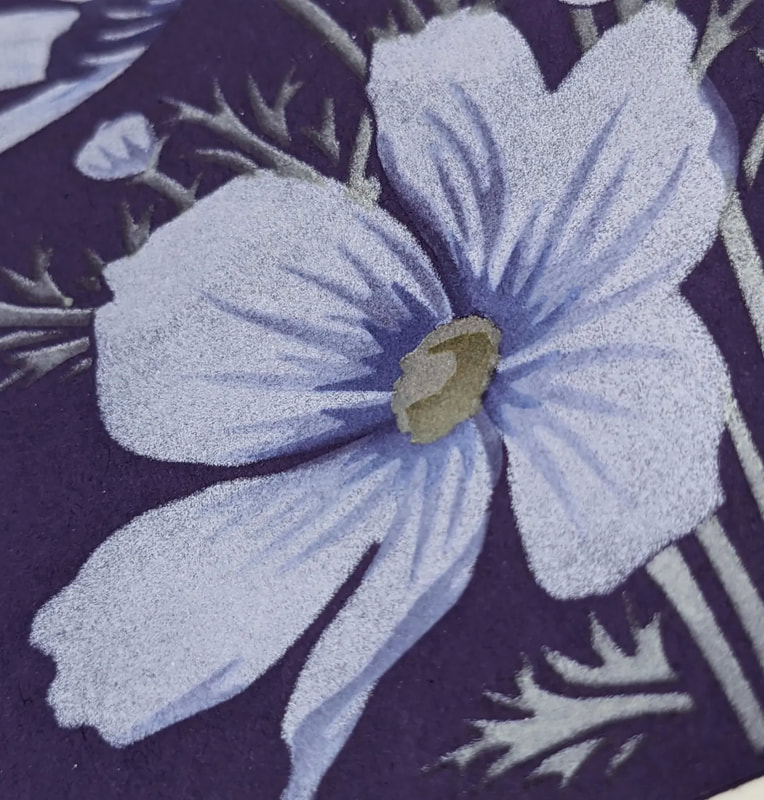
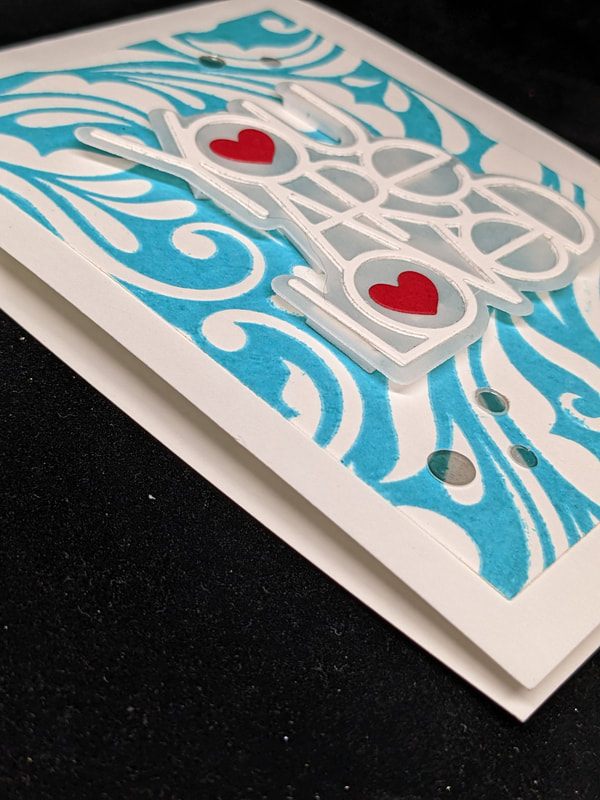
4/12/2023 0 Comments Layered stencils virgin.This stencil is from thetonstamps.com. It's my first layered stencil set and theTon has some beautiful ones. Of course, as is true for all things I seem to do, I go straight from never using a layered stencil to using it in this technique for the first time. I'll have to actually use the stencil on white cardstock sometime (and not do this reverse thing). LOL. Homework from Day #4 of the Stenciled2 online card class. I loved learning this one. Thank you, @jennifermcguireink for the excellent lesson. Thank you to @jennifermcguireink
and @starofmay for this class! Lots of techniques to try and use over and over. #OCCStenciled2 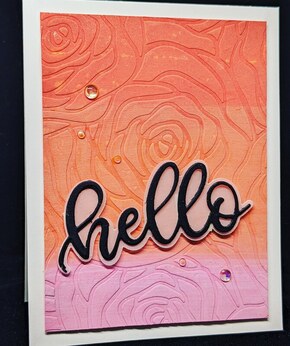 Another card from the onlinecardclasses.com Stenciled2 class:
Dry embossed stencil (Roses) with Baby Wipe Oxide Technique. Used pinks and oranges - not my usual go-to colors! It was hard to use a different palette. #OCCStenciled2 3/28/2023 0 Comments Inking Stencils & Dry Embossing
3/23/2023 0 Comments March 23rd, 2023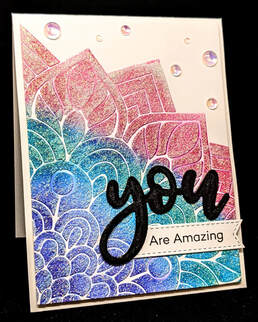 Day 2 (and day 1) Homework. I really like that glitter paste stuff.
Incidentally, it's actually Day 9 of the class. I'm really behind on my homework! #OCCStenciled2 |
Archives
July 2023
CategoriesAll Copic Markers Dry Embossing Foiling Ink Blending Interactive Cards Pastes Pastes & Gels Stencils All content, including text, photographs, and concept design works, are copyrighted by me, unless otherwise noted. You may use designs for personal inspiration use only Thank you so much for your support!
|


 RSS Feed